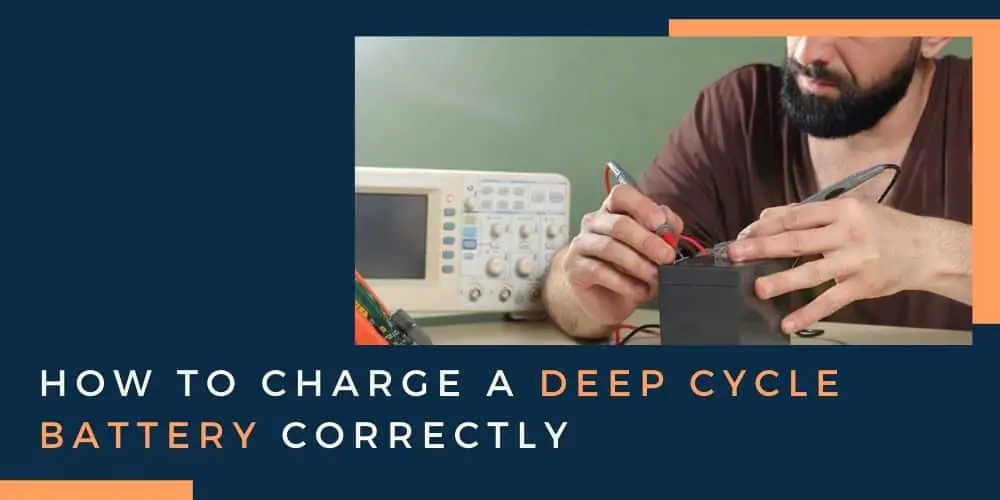
Deep cycle batteries are amazing and efficient at what they do. With the ability to discharge up to 80% of their available energy, these batteries can still be fully recharged and will last you for many years of use –provided that you take care of them.
If this is your first deep cycle battery and you are wondering how to charge a deep cycle correctly then you are in luck.
To charge a deep cycle battery properly we just need to check the fluid with your hydrometer, set your charger to the optimal level, and then make sure to connect it properly. After that, you’ll just need to wait for it to finish charging.
We’ll detail the steps required for properly charging your deep cycle battery and give you a little information on why you want to be careful not to over or undercharge it as well as why it’s a good idea not to take shortcuts with ‘quick charges’.
We’ll begin with the 5 easy steps to charging your deep cycle battery.
- Meet the GENIUS5 - Similar to our G3500, just better. Its 34% smaller and delivers 65% more power. Its the all-in-one solution - battery charger, battery maintainer, trickle charger, plus battery desulfator.
Prices pulled from the Amazon Product Advertising API on:
Product prices and availability are accurate as of the date/time indicated and are subject to change. Any price and availability information displayed on [relevant Amazon Site(s), as applicable] at the time of purchase will apply to the purchase of this product.
Contents
Charging a deep cycle battery in 4 easy steps
Now we are ready to go through the steps needed for recharging your deep cycle battery. You’re going to need a hydrometer if you don’t have one, but don’t worry.
You can easily get ahold of one of them at your local hardware store, automotive supply, or simply order one online. You’ll also need a flathead screwdriver, some safety gloves, and safety goggles.
Put on your safety gear and then with your charger, screwdriver, and your hydrometer ready you will want to disconnect your deep cycle battery and place it in a dry, isolated spot (though if this is a boat battery you can also keep it in its fixed place). After this, you will want to perform the following steps:
- Step 1 – Using your screwdriver you’ll want to remove your battery-cell covers, this is so that we can check the electrolyte levels of your battery. Access is obtained either through a large cap or possibly individual cell plugs, but it will be one of these two configurations. Pry them gently open for the next step.
- Step 2– Your Hydrometer will have some specific instructions but what you basically do is draw some water up into it so that we can check the fluid level. We want to establish that enough water is there so that the electrolytes in the battery can do their job. The Hydrometer will tell you if you need to add some distilled water to top up each individual cell as you test them before resealing.
- Step 3 – Find the setting for your battery voltage (6, 12, or 24) and set your charger to a trickle or a slow charge. Find out the amp rating per hour of your battery if your charger lets you select voltage, because you want to set it to 20% of the output per hour for best results. It should be written on the side. No high-amp shortcuts (more on this later).
- Step 4 – Connect the positive terminal first and then the negative. Leave it alone for about 20 minutes before checking the charge meter, as it won’t be very accurate until then. Now you will need to check that charge meter once every hour until the battery is charged, unless your charger has a voltage regulator to turn itself off when the charge is full. Otherwise, keep monitoring and disconnect when it is fully charged.
Here’s the items in this post
| Image | Title | Price | Buy |
|---|---|---|---|
 | EZRED SP101 Battery Hydrometer | Latest Price on Amazon | |
 | LEICESTERCN Battery Tester | Latest Price on Amazon | |
 | NOCO GENIUS5, 5-Amp Fully-Automatic Smart Charger | Latest Price on Amazon |
Be sure not to overcharge or to undercharge
If you don’t have that voltage regulator that lets you simply attach the charger and then come back in the morning then you might consider that feature for your next charger. This brings us to the reason why you have to monitor it carefully in the absence of a regulator.
Overcharging your battery is going to make a dent in its overall lifespan. This occurs because the addition of charge beyond capacity can’t raise the full rated capacity, but it CAN cause decomposition with the electrolyte and water balance in the cells. This has the effect of ‘aging’ your battery prematurely and we definitely want to avoid that.
Undercharging is also quite bad for a battery. This is because of a process called Sulfation, where lead sulfates in the battery which are normally kept at low levels with regular charging are allowed to become more stable in its absence.
These will eventually make your battery charge less efficiently and you’ll have to replace it sooner.
A warning about quick-charging your deep cycle battery
Finally, we would like to give a last bit of advice on a technique you might have heard about. Some people will tell you that raising the amps to say 20, in the case of a battery rated for 10 – 15 amps, is a good way to charge the battery more quickly.
Does it work? Absolutely, but we don’t recommend it. Hacks like these may be used in emergencies but they reduce the overall life of your battery.
Set yourself a charge schedule, stick to it, and use the correct steps for charging as we have outlined here and you’ll get the great performance and the longevity that you paid for!


