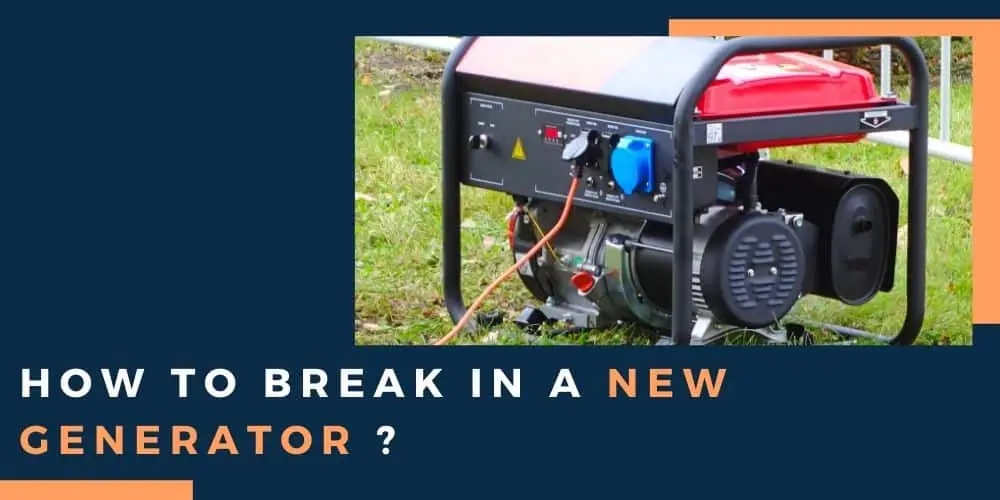
If you have bought your brand new generator and are looking for a plug-and-play experience, you are in for an unwelcome surprise.
Your appliances and gear will have to wait while you do the right thing and break in your portable generator. Worse still it can take a few hours or more.
If you take a look at your manufacturer’s manual you will find that breaking in a portable generator is an essential step, to get the best performance from your new power equipment.
In this article, we will explain why breaking in your generator is so important, and the key steps to priming and prepping your genny so that it will purr like a kitten as it generates the clean power you need.
Contents
What is break-in for a generator?
Generator break-in is a process that is intended to help the piston rings of your new generator are properly seated in the cylinder walls and helps them wear in well.
In addition, you are letting the generator initially run load-free so it can be lubricated, burn off any machining debris and have the oil changed.
When the generator is assembled by the manufacturer, this process has not taken place so it is down to you, as the owner, to ensure that these last steps are completed so that your generator is truly ready to use.
So, why does your generator need to be broken in?
- Wearing the piston rings and cylinders
The cylinder walls of a new generator are cross-hatched and designed to hold a layer of lubrication on its textured surface against the piston ring as it moves up and down inside a working engine.
During the breaking-in process, the piston will move inside the cylinder wall and wear into the wall, hammering out a precision fit that alters the grooves of the cylinder wall and piston ring face. This enhances the distribution of oil which creates a film between the two surfaces.
The force of this wearing process will also shed metal filaments that will contaminate the lubricants or burn off.
- Generation of Break Mean Effective Pressure (BMEP)
BMEP is a pressure that is generated in the combustion chamber of your new generator by the controlled explosion of fuel and air when you first switch it on.
The BMEP really shapes and conforms your generator’s combustion chamber and pushes the piston rings properly against the cylinder walls.
This pressure is optimal when the generator is unloaded, if there is even slight loading the pressure will not be adequate to drive those pistons against the cylinder walls.
Worse still, there can be a phenomenon known as blow-by where hot combustion gasses manage to work their way around the piston rings and into the crankcase which can fatally damage the generator’s functioning or at least require a skilled repair!
So as you can see, the generator you unbox with is newly machined assembled parts is very different from the well-primed working engine you create through breaking-in. This affects the performance and longevity of your generator.

- Getting rid of debris and carbon deposits within the generator
The machined metal parts of the generator often leave metal fragments and debris inside the generator which can contaminate lubricating oil and fuel when first used.
This debris as well as other chemicals and coatings used in the manufacturing process need to be burnt off and cleared through repeated oil changes and the exhaust as you break in your generator.
- Breaking in your generator qwill prevent catstrophic dry starts
Turning on your generator without oil, lubricants, and conditioners is just about the worst thing you can do to it. After all, you wouldn’t do that to your car.
Inadequate lubrication will cause serious damage and wearing to the cylinders and piston rings which may even require replacement.
Here’s how to break in a generator
For the best results, you should always follow the manufacturer’s instructions for your generator. Below we will provide a 12 part step-by-step guide to breaking in a generator.
Treat these steps as an outline for how you should approach the break-in of a new generator.
What you will need:
- Fuel – if you are using gasoline, look for good quality, high-octane fuel.
- Oil – buy the oil brand specified by your manufacturer.
- Upper cylinder lubricant or oil conditioner – this additive particularly targets the cylinders of your generator and helps distribute and hold the oil to them. It is also a good protective coating for when your generator is not in use as it helps to prevent dry starts.
- A spark plug wrench – essential for removing the spark plug without damage.
- Funnels
- Screwdriver
Step 1: Gain access to the spark plug wiring of your generator.
You may need to unscrew some of the panelling if your generator to can the access you need.
Step 2: Remove the spark plug, its rubber boot and wire.
You can then use your spark plug wrench yo completely remove the spark plug which you can set to one side.
Step 3: Add some oil conditioner to the spark plug chamber.
Use a funnel to pour some oil conditioner into the spark plug chamber so that it can work its way around the cylinders. You can aid the distribution of lubricant by very gently pulling (but NOT starting) on the starter cord to move the piston heads.
Step 4: Replace the spark plug, its boot, and wire.
Step five: Using a funnel add the required amount of engine oil.
Before adding the engine oil, add a few drops of oil conditioner to coat the oil pan. Do not overfill the oil level, check with a dipstick and pour off any excess if necessary.
Step 5: Fill the fuel tank of your generator with petrol.
Add your fuel via a funnel to prevent spills.
Step 6: Start up your generator.
Make sure that you are running your generator unloaded. If your fuel cap has a switch, move it to the on position so that there is plenty of airflow into the fuel reservoir to aid combustion.
Alternatively, open the choke. To get the generator started you may have to pull on the pull-start many times.
Step 7: Run the generator unloaded for one hour.
Run the generator at its lowest speed and simply forget about it for 60 minutes.
Step 8: Power down your generator and change the oil.
Draining and changing the oil, once your generator is cool is very important. You are likely to see that the oil is dirty and tainted with lots of debris that have been loosened by the generator running.
Fill the oil tank with a small amount of oil conditioner followed by more oil.
Step 9: Run the generator unloaded for another hour and then change the oil again.
Your second oil change should be clearer. Refill the oil adding conditioner beforehand.
Step 10: Run the generator unloaded for a final hour and then change the oil again.
Your second oil change should be clearer. Refill the oil adding conditioner beforehand.
Step 11: You are now ready to run your new generator!
Start with a load of 50 to 75% and take things from there.
To see the break-in process in action, watch this helpful video that outlines the key steps in an easy to follow manner:
Remember, the first few hours of use will make or break your generator
Even though you have broken in your generator, careful attention to the first 100 hours of use will really set the trajectory for your generator’s long-term performance.
Give your portable generator a significant amount of time (up to 50 hours) with a 75% load to maintain optimal combustion pressure, varying the load to ensure those rings remain properly seated.
Treat your genny right and it will treat you good too!
We hope you can see that break-in for your new generator cannot be neglected. Do not run that generator before it is completed.
If you have bought the generator for an outdoor party, camping, or hunting, give yourself time to make sure that you complete the breaking-in process at home before you use the generator properly for the first time.
Following on by maintaining a 75% load will also help everything bed in properly and remember to do frequent oil changes in the early days of running your generator for bed in excellent long-term performance.
Good quality fuel, oil and lubricants will keep your genny at its best!
Do you need to break in a new generator?
Yes, Just like anything mechanical that has moving parts they need to be gently broken in to prolong the life of the equipment and also improve performance